1. nginx 이미지 다운로드
root@latch:~# docker pull nginx
Using default tag: latest
latest: Pulling from library/nginx
6ec7b7d162b2: Pull complete
cb420a90068e: Pull complete
2766c0bf2b07: Pull complete
e05167b6a99d: Pull complete
70ac9d795e79: Pull complete
Digest: sha256:1407c60d1d6c523a495c7b4e4a1206abce469f875d18f4207a3907f03891231b
Status: Downloaded newer image for nginx:latest
docker.io/library/nginx:latest
nginx 이미지를 다운로드합니다.
2. nginx 이미지 다운로드 확인
root@latch:~# docker image ls
REPOSITORY   TAG       IMAGE ID       CREATED       SIZE
nginx        latest    ae2feff98a0c   3 weeks ago   133MB
ubuntu       latest    f643c72bc252   6 weeks ago   72.9MB
nginx 이미지가 다운로드 된 것을 확인할 수 있습니다.
3. 이미지를 이용하여 nginx 서버 실행
root@latch:~# docker container run --name webserver -d -p 80:80 nginx
22e28bdc7f4e761185906424f18fff9269601d319a889eda7147195ef37696benginx 서버가 정상적으로 실행되었습니다.
4. nginx 서버 상태 확인
root@latch:~# docker container ps
CONTAINER ID   IMAGE     COMMAND                  CREATED              STATUS              PORTS                NAMES
22e28bdc7f4e   nginx     "/docker-entrypoint.…"   About a minute ago   Up About a minute   0.0.0.0:80->80/tcp   webserver
nginx 서버가 작동 중인 것을 확인할 수 있습니다.
5. 컨테이너 작동 확인
root@latch:~# docker container stats webserver
CONTAINER ID   NAME        CPU %     MEM USAGE / LIMIT     MEM %     NET I/O       BLOCK I/O     PIDS
22e28bdc7f4e   webserver   0.00%     2.551MiB / 3.853GiB   0.06%     1.05kB / 0B   0B / 8.19kB   2
CONTAINER ID   NAME        CPU %     MEM USAGE / LIMIT     MEM %     NET I/O       BLOCK I/O     PIDS
22e28bdc7f4e   webserver   0.00%     2.551MiB / 3.853GiB   0.06%     1.05kB / 0B   0B / 8.19kB   2
6. 컨테이너 정지
root@latch:~# docker stop webserver
webserver
7. 컨테이너 실행
root@latch:~# docker start webserver
webserver
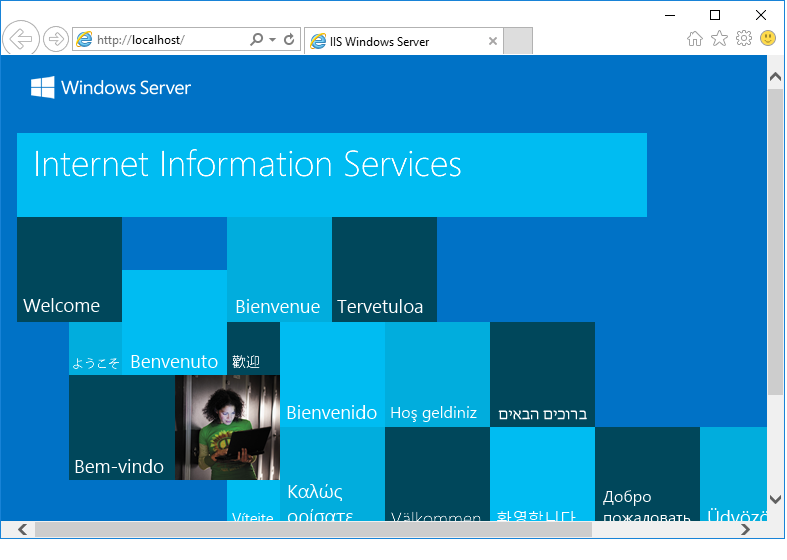
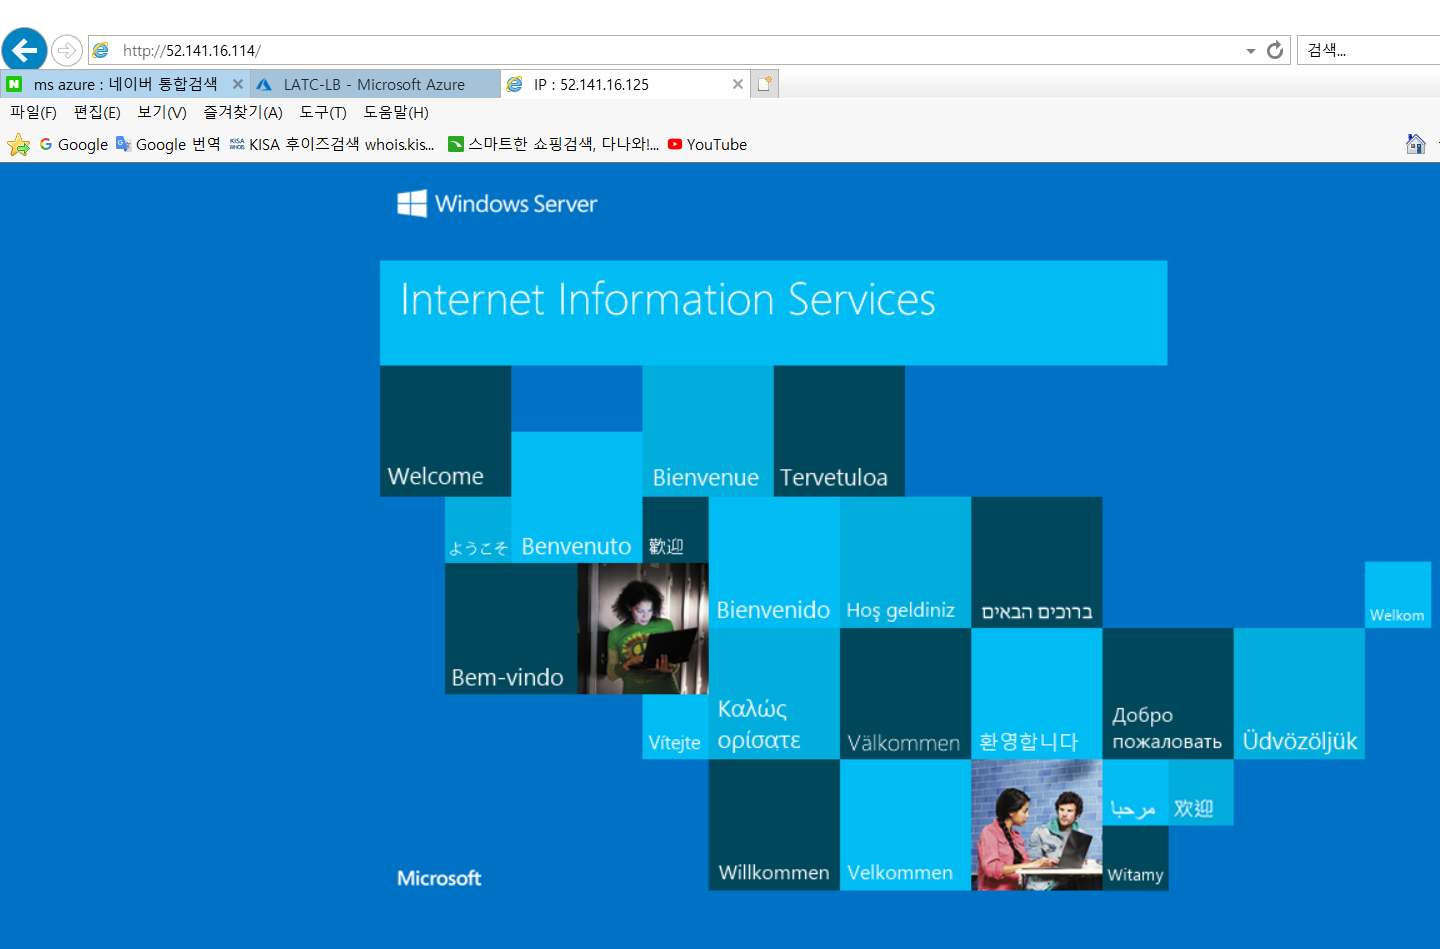
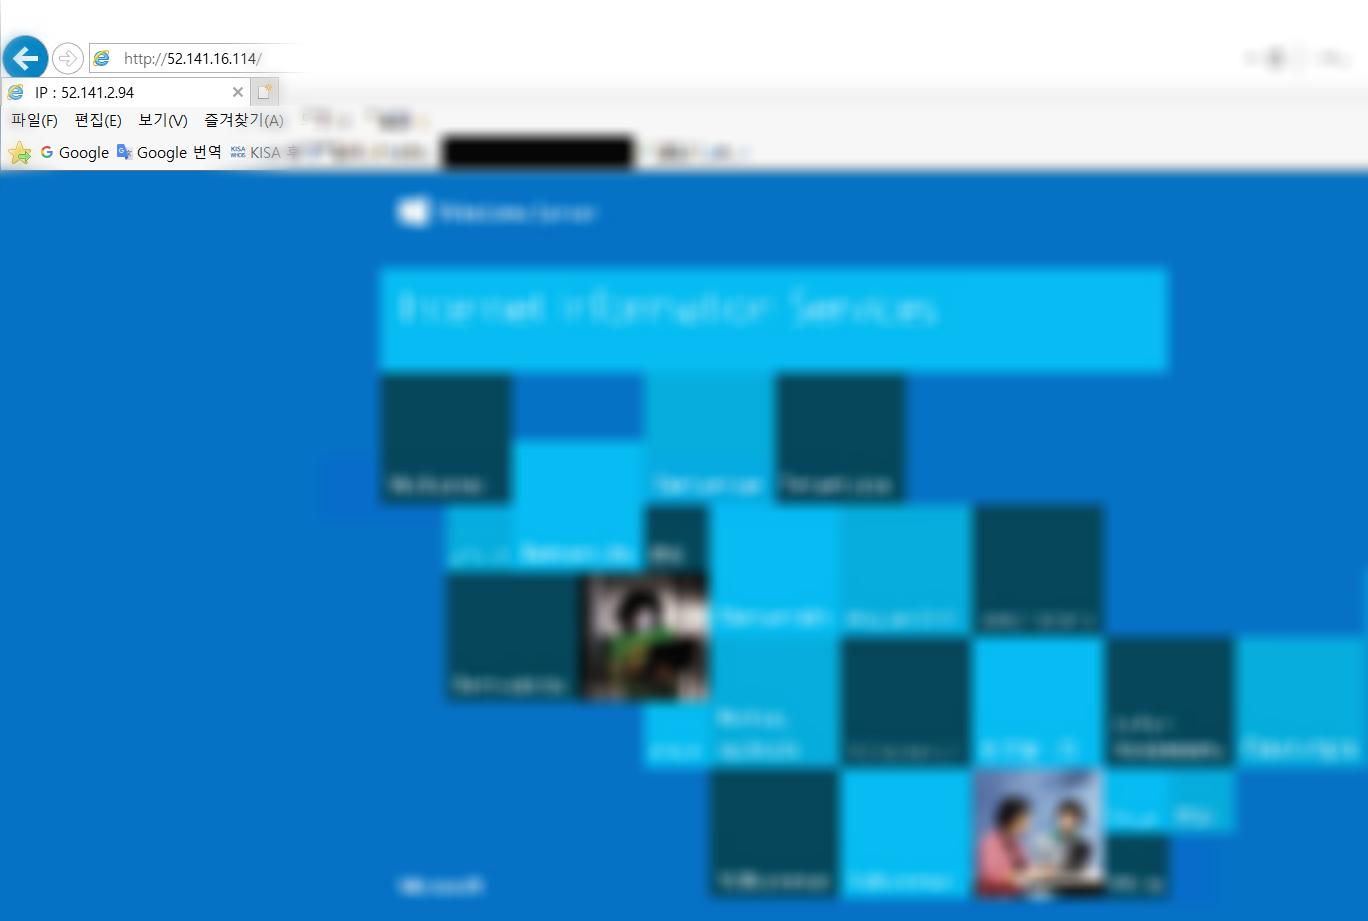
8. 웹 페이지 확인

nginx 웹 페이지가 열리는 것을 확인할 수 있습니다.
9. 컨테이너 접속
root@latch:~# docker exec -i -t webserver bash
root@22e28bdc7f4e:/etc/nginx/conf.d# vi default.conf
server {
    listen       80;
    listen  [::]:80;
    server_name  localhost;

    #charset koi8-r;
    #access_log  /var/log/nginx/host.access.log  main;

    location / {
        root   /usr/share/nginx/html;
        index  index.html index.htm;
    }

    #error_page  404              /404.html;

    # redirect server error pages to the static page /50x.html
    #
    error_page   500 502 503 504  /50x.html;
    location = /50x.html {
        root   /usr/share/nginx/html;
    }

    # proxy the PHP scripts to Apache listening on 127.0.0.1:80
    #
    #location ~ \.php$ {
    #    proxy_pass   http://127.0.0.1;
    #}

    # pass the PHP scripts to FastCGI server listening on 127.0.0.1:9000
    #
    #location ~ \.php$ {
    #    root           html;
    #    fastcgi_pass   127.0.0.1:9000;
    #    fastcgi_index  index.php;
    #    fastcgi_param  SCRIPT_FILENAME  /scripts$fastcgi_script_name;
    #    include        fastcgi_params;
    #}

    # deny access to .htaccess files, if Apache's document root
    # concurs with nginx's one
    #
    #location ~ /\.ht {
    #    deny  all;
    #}
}
webserver 컨테이너 안에 nginx conf 파일에 접근이 되는 것을 확인 할 수 있습니다.
10. 컨테이너 저장 위치 확인
root@latch:~# docker exec -i -t webserver bash
root@22e28bdc7f4e:/# touch a.txt
root@22e28bdc7f4e:/# ls
a.txt bin boot dev docker-entrypoint.d docker-entrypoint.sh etc home lib lib64 media mnt opt proc root run sbin srv sys tmp usr varroot@22e28bdc7f4e:/# exit
exit
root@latch:~# cd /var/lib/docker/overlay2/1013953725dd5bcd0f153131609726fc2723fe2616dc8df31ab22bb85f3ddad3/diff
root@latch:/var/lib/docker/overlay2/1013953725dd5bcd0f153131609726fc2723fe2616dc8df31ab22bb85f3ddad3/diff# ls
a.txt etc root run tmp usr var
'Cloud > Docker' 카테고리의 다른 글
| [Ubuntu] Docker 설치 (0) | 2021.01.12 |
|---|---|
| [CentOS] Docker 설치 (0) | 2021.01.12 |